Hey there, aspiring artist! So you’ve decided to dip your toes (or should I say brushes?) into the world of acrylic painting. Well, you’re in for a treat! Acrylic painting is a fantastic way for beginners to start creating beautiful images. It’s forgiving, versatile, and most importantly, fun! In this guide, we’ll walk you through everything you need to know to get started on your artistic journey. From picking out supplies to mastering basic techniques, we’ve got you covered. So grab a snack, get comfy, and let’s dive into the colorful world of acrylic painting!
This article is perfect for beginners who are eager to explore the world of acrylic painting.
Contents
- 1 Key Takeaways
- 2 Getting Started: Your Artistic Shopping List
- 3 Basic Techniques: Your Artistic Toolkit
- 4 Choosing Your First Subjects: What to Paint?
- 5 Tips for Success: Your Artistic Cheat Sheet
- 6 Practice Makes Progress: Your Artistic Journey
- 7 Troubleshooting: When Things Go Wonky
- 8 Wrapping It Up: Your Artistic Adventure Awaits
Key Takeaways
- Acrylic paints are beginner-friendly, quick-drying, and super versatile
- You’ll need some basic supplies like paints, brushes, canvas, and a palette to get started
- Start with simple techniques like blending, layering, and dry brushing
- Practice regularly and don’t be afraid to experiment with different subjects
- Remember, art is about expression and enjoyment, so have fun with it!
Getting Started: Your Artistic Shopping List

Before we jump into painting, let’s talk about what you’ll need. Think of this as your artistic grocery list – these are the ingredients for your masterpiece!
Paints: The Stars of the Show
Acrylic paints come in a rainbow of colors, but when you’re just starting out, you don’t need to buy the whole art store. Here’s a list of colors that’ll give you a great foundation:
- Cadmium Red (a bright, warm red)
- Ultramarine Blue (a deep, cool blue)
- Cadmium Yellow (a warm, sunny yellow)
- Titanium White (for lightening colors and creating pastels)
- Mars Black (for darkening and creating shadows)
With these five colors, you can mix almost any color under the sun. It’s like being a color chef – a little of this, a dash of that, and presto! You’ve got purple, orange, green, and everything in between.
Pro tip: As you get more comfortable, try adding some earth tones like burnt sienna or yellow ochre to your palette. They’re great for landscapes and portraits.
Brushes: Your Artistic Magic Wands
Brushes come in more shapes and sizes than you can shake a stick at (pun intended). For beginners, here’s what you should look for:
- A few round brushes in different sizes (great for details and lines)
- Some flat brushes (perfect for broad strokes and filling in large areas)
- A fan brush (awesome for blending and creating texture)
Think of brushes like different tools in a toolbox. You wouldn’t use a hammer to screw in a lightbulb, right? Same idea with brushes – each one has its own special purpose.
Canvas: Your Blank Slate
When it comes to choosing a surface to paint on, you’ve got options:
- Stretched canvas: The classic choice. It comes pre-primed and ready to go.
- Canvas panels: More budget-friendly and great for beginners.
- Acrylic paper: Perfect for practice and sketching out ideas.
Start with smaller canvases (8×10 inches or 9×12 inches) when you’re beginning. They’re less intimidating and quicker to fill. Plus, if things go sideways, you haven’t wasted a giant canvas!
Other Must-Haves
- Palette: For mixing colors. You can buy a proper artist’s palette, or just use a paper plate or piece of cardboard.
- Water cup: To clean your brushes and thin your paint.
- Paper towels or rags: Trust me, you’ll need these for clean-up.
- Easel (optional): Nice to have, but you can start by working on a flat surface.
Basic Techniques: Your Artistic Toolkit

Now that you’ve got your supplies, let’s talk about some basic techniques to get you started. Think of these as the ABCs of acrylic painting.
Blending: The Smooth Operator
Blending is all about creating smooth transitions between colors. Here’s how to do it:
- Put two colors side by side on your canvas.
- While they’re still wet, use a clean brush to gently brush back and forth where the colors meet.
- Keep working at it until you get a smooth gradient.
It’s like creating a color rainbow right on your canvas. With practice, you’ll be blending like a pro in no time!
Layering: Building Your Masterpiece
Layering is exactly what it sounds like – adding layers of paint to create depth and interest. Here’s the scoop:
- Start with a base layer and let it dry completely. (Psst… acrylic dries pretty fast, so you won’t be waiting long!)
- Once it’s dry, add another layer on top.
- Repeat as many times as you like.
Layering is great for adding details, creating texture, or even correcting mistakes. It’s like adding different flavors to your painting sandwich!
Dry Brush: Adding Texture and Pizzazz
The dry brush technique is perfect for creating texture and highlights. Here’s how it’s done:
- Dip your brush in paint, then wipe most of it off on a paper towel.
- Lightly drag the nearly dry brush across your canvas.
- The paint will catch on the high points of the canvas texture, creating a scratchy, textured look.
This technique is fantastic for adding grass to a landscape, texture to tree bark, or highlights to hair in a portrait.
Choosing Your First Subjects: What to Paint?

Staring at a blank canvas can be intimidating. Here are some ideas to get your creative juices flowing:
- Still life: Grab some fruit from your kitchen, arrange them in a bowl, and voila! You’ve got a classic still life setup. Or try a vase of flowers – they’ll sit still for as long as you need.
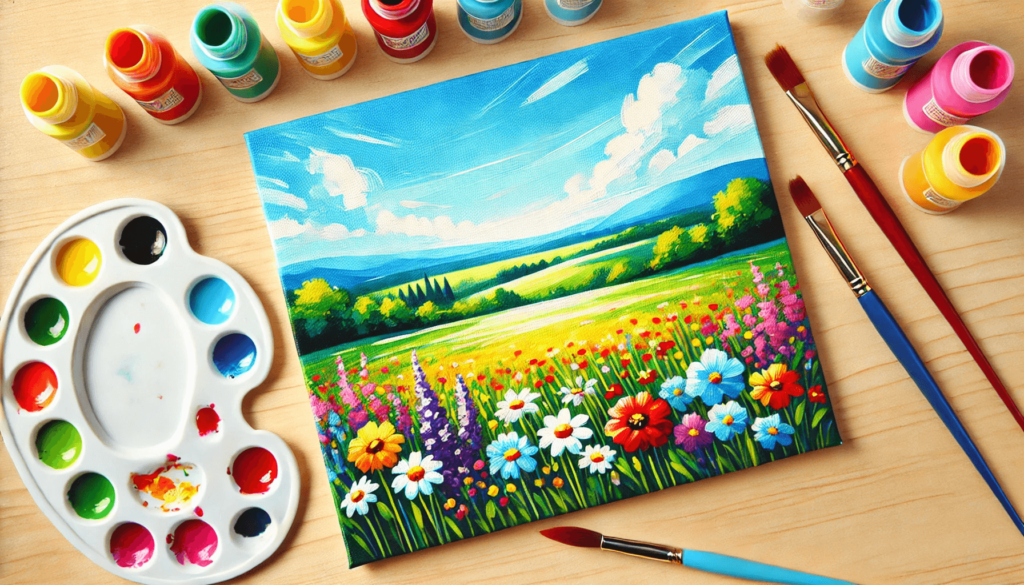
- Landscapes: Start with simple scenes. A beach with sand, sea, and sky is a great beginner landscape. Or try a field with a tree or two. Remember, it doesn’t have to be photorealistic – it’s your interpretation!
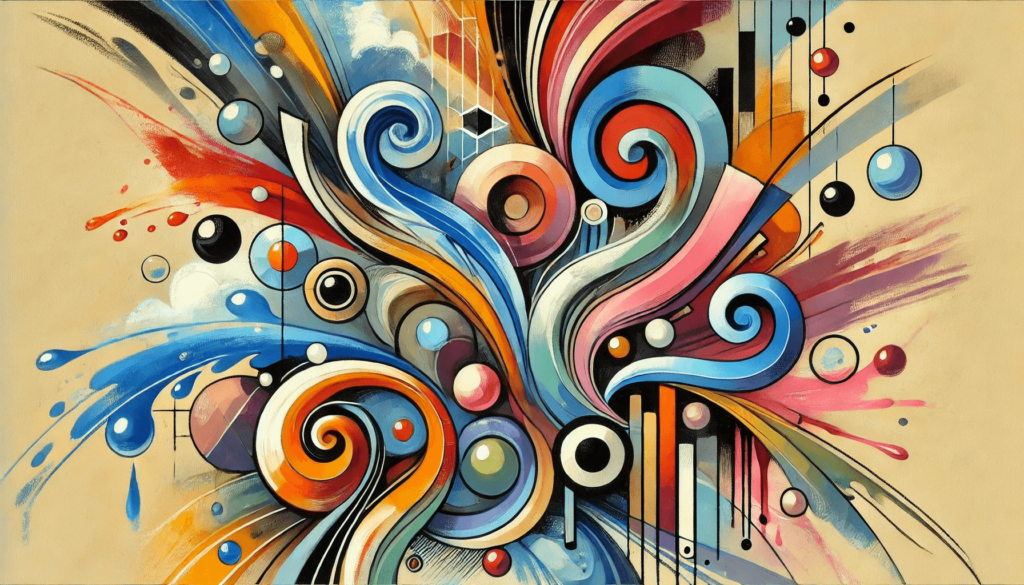
- Abstract art: Let your imagination run wild! Experiment with colors, shapes, and textures. There are no rules in abstract art, so have fun with it.
- Simple objects: Try painting everyday objects like a coffee mug, a book, or a pair of shoes. It’s great practice for observing shapes and shadows.
Remember, your first paintings don’t need to be gallery-worthy. They’re like your first attempts at cooking – maybe not five-star restaurant quality, but made with enthusiasm and a dash of love!
Tips for Success: Your Artistic Cheat Sheet
- Start small: Begin with smaller canvases. They’re less intimidating and quicker to finish. Plus, you can hang a bunch of small paintings together for a cool gallery wall effect!
- Keep it clean: Rinse your brushes often and clean them properly after each session. Trust me, trying to paint with a brush that’s stiff as a board is no fun.
- Be patient: Rome wasn’t painted in a day (or something like that). Give yourself time to learn and improve. Every stroke is a step forward!
- Embrace mistakes: In the words of Bob Ross, there are no mistakes, only “happy accidents.” Sometimes a slip of the brush can lead to an interesting effect. Go with the flow!
- Experiment: Try different brush strokes, color combinations, or techniques. You never know what cool effects you might discover.
- Take breaks: If you’re feeling frustrated, step away for a bit. Sometimes a fresh perspective is all you need.
- Have fun: Seriously, this is the most important part. Art is about expression and enjoyment, so don’t stress too much about perfection.
Practice Makes Progress: Your Artistic Journey

The secret to getting better at painting? Keep at it! Try to set aside some time each week to practice. Even if it’s just 30 minutes, consistent practice will help you improve.
Here’s a fun idea: Start an art journal. Use it to sketch ideas, practice color mixing, or even do quick mini-paintings. It’s a great way to track your progress and experiment without the pressure of creating a “finished” piece.
Remember, every great artist started as a beginner. Picasso didn’t wake up one day able to paint masterpieces, and neither will you. But with each painting, you’ll learn something new and get a little bit better.
Troubleshooting: When Things Go Wonky
Sometimes things don’t go as planned. Here are some common issues and how to fix them:
- Paint drying too fast? Try using a spray bottle to mist your palette, or add a bit of water to your paint.
- Colors looking muddy? Make sure you’re cleaning your brush between colors, and try mixing colors on your palette before applying them to your canvas.
- Brush leaving streaky marks? You might be using too little paint. Load up your brush a bit more.
- Paint not covering the canvas well? You might need to add another layer once the first one is dry.
Remember, even experienced artists face challenges. The key is to learn from them and keep going!
Wrapping It Up: Your Artistic Adventure Awaits
So there you have it – your complete guide to getting started with acrylic painting. From choosing supplies to mastering basic techniques, you’re now armed with the knowledge to begin your artistic journey.
Remember, art is about expression, creativity, and most importantly, enjoying yourself. Don’t get too caught up in making everything perfect. Instead, focus on the joy of creating something uniquely yours.
Now, grab those brushes and get painting! And hey, if you accidentally turn your cat blue in the process, just call it a creative choice. Who knows? You might start a new trend in pet grooming!
Happy painting, future Picasso! Your artistic adventure is just beginning, and I can’t wait to see where it takes you. Now go forth and create some colorful magic!