So you’ve got a set of poster colors and you’re itching to create some art, but you’re not sure where to start? Don’t worry, I’ve got your back. Poster colors are an awesome choice for beginners – they’re cheap, easy to use, and come in all sorts of bright, fun colors. In this article, we’re going to dive into some cool painting ideas that’ll get your creative juices flowing. We’ll cover everything from basic techniques to fun projects, and I’ll throw in some tips to make your paintings really pop. By the time you’re done reading, you’ll be ready to pick up that brush and make some magic!
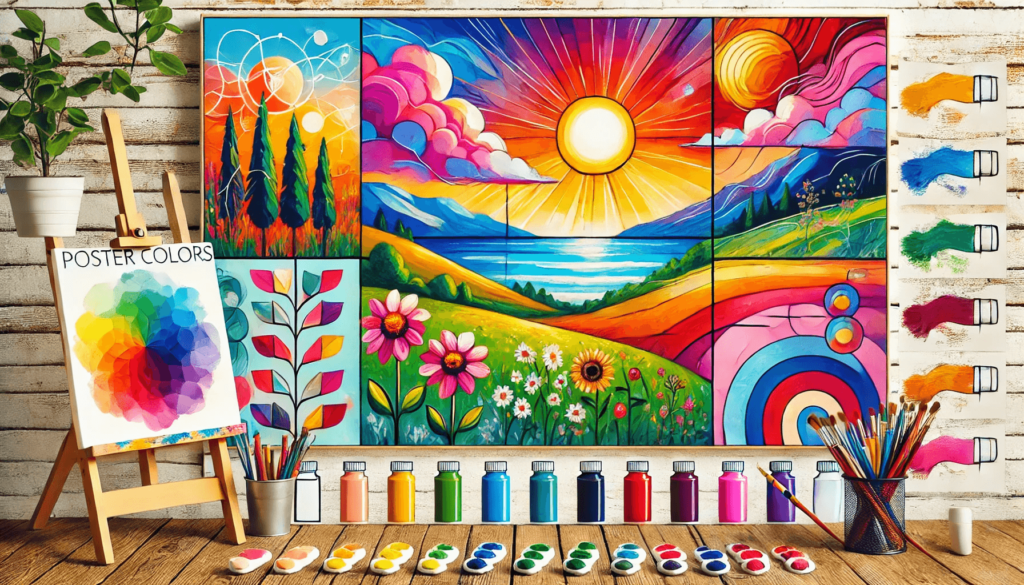
This article is designed for beginners who are eager to explore the vibrant world of painting using poster colors.
Contents
Key Takeaways
- Poster colors are super beginner-friendly and versatile
- Start with simple projects like landscapes and abstract art
- Play around with different techniques to create unique effects
- Don’t stress about mistakes – they’re part of the learning process
- Experiment with color mixing to expand your palette
- Have fun and let your creativity shine!
Getting Started with Poster Colors
Alright, before we jump into the painting ideas, let’s cover some basics. Trust me, this stuff will make your life way easier when you start painting.
What You’ll Need
First things first, let’s talk supplies. Here’s what you should have on hand:
- Poster colors (make sure you at least have red, blue, and yellow)
- A set of paintbrushes (get a mix of sizes – thin ones for details, thick ones for big areas)
- A cup or jar for water
- A mixing palette (an old plate works great if you don’t have one)
- Paper or canvas to paint on
- Some paper towels or an old rag for cleaning up
Mixing Colors
Remember that color wheel from art class? It’s about to become your new best friend. Here’s a quick and dirty guide to color mixing:
| Primary Colors | Secondary Colors (Mix 2 primaries) | Tertiary Colors (Mix primary + secondary) |
|---|---|---|
| Red | Purple (Red + Blue) | Red-violet, Blue-violet |
| Blue | Green (Blue + Yellow) | Blue-green, Yellow-green |
| Yellow | Orange (Yellow + Red) | Yellow-orange, Red-orange |
But here’s the thing – don’t just stick to this table. Get messy! Mix different amounts of colors together. Add a bit of white to make it lighter (we call this a tint) or a bit of black to make it darker (that’s a shade). You’ll be amazed at how many colors you can create with just a few basic shades.
Easy Painting Ideas for Beginners
Okay, now for the fun part – let’s paint! Here are some simple ideas to get you started:
1. Colorful Sunset
Who doesn’t love a good sunset? It’s an easy subject for beginners, and you can’t really go wrong. Here’s how to do it:
- Start by painting the sky. Use bands of color – yellow at the bottom, then orange, then pink as you move up the page. Don’t worry about perfect straight lines – real sunsets are kinda messy!
- While the paint is still wet, use a clean brush to blend the colors where they meet. This will give you that smooth gradient effect.
- Now for the sun. Mix some yellow and orange together and paint a circle. If you want it to look like it’s setting, put it half off the bottom of the page.
- Once everything’s dry, add some silhouettes at the bottom. Trees, buildings, mountains – whatever you like. Use black paint for this.
- For a final touch, add some clouds. Mix white with a tiny bit of yellow or orange and paint some wispy shapes in the sky.
2. Abstract Color Blocks
This one’s perfect if you’re not confident in your drawing skills yet. It’s all about color and shape:
- Get some masking tape and stick it on your paper to divide it into sections. You can do straight lines, or get crazy with diagonals and zigzags.
- Now paint each section a different color. Don’t be afraid to go bold!
- While the paint is still wet, try blending colors where they meet for a cool effect.
- Once everything’s dry, carefully peel off the tape. You’ll be left with crisp, clean lines between your color blocks.
- If you want to take it further, add some patterns in each block. Dots, stripes, swirls – whatever takes your fancy.
3. Simple Landscape
Let’s create a basic landscape with just a few elements:
- Start with the sky. Paint the top two-thirds of your paper light blue.
- For the land, paint the bottom third green.
- Add some simple shapes for trees. Use a dark green and paint some triangles with trunks.
- How about a mountain? Paint a big triangle shape in the background using gray or purple.
- Add a little house if you like. Just a square with a triangle roof will do.
- Now for some details. Use different shades of green to add texture to your grass. Maybe put some flowers in there too.
- For the finishing touch, paint some white fluffy clouds in the sky.
4. Fruit Still Life
This is great practice for shapes and shading:
- Grab some fruit from your kitchen. An apple, banana, and orange make a good combo.
- Arrange them on a table and sit where you have a good view.
- Lightly sketch the outlines of your fruit on the paper. Don’t press too hard – you want to be able to paint over these lines.
- Now start filling in with colors. For the apple, start with a medium red all over.
- While it’s still wet, add some darker red on one side for shadow, and a bit of yellow or white on the other for highlight.
- For the banana, use yellow but leave a white streak for shine. Add some brown spots for realism.
- The orange is, well, orange! But add some darker orange or red for shadow, and yellow for highlight.
- Don’t forget to paint the surface they’re sitting on, and maybe add a shadow underneath.
Fun Techniques to Try
Want to add some pizzazz to your paintings? Give these techniques a whirl:
Splattering
This is a fun way to add texture or create effects like stars or rain:
- Water down your paint a bit so it’s runny.
- Dip your brush in the paint.
- Hold the brush over your painting and tap it against your finger.
- Watch as the paint splatters across the page!
- This works great for adding stars to a night sky, or creating a speckled background.
Gradient Effect
This creates a smooth transition between colors:
- Paint one color at the top of your paper and another at the bottom.
- While both colors are still wet, use a clean, damp brush to blend where they meet.
- Keep blending gently until you have a smooth transition.
- This is perfect for skies, water, or any background that needs a subtle color change.
Salt Texture
This creates a cool, mottled effect:
- Paint an area with watery poster color.
- While it’s still wet, sprinkle some salt over it.
- Let it dry completely.
- Brush off the salt and see the neat texture it leaves behind!
- This technique works great for creating texture in landscapes or abstract paintings.
Tips for Better Paintings
Alright, I’ve got a few more tricks up my sleeve to help you out:
- Start with light colors and add darker ones later. It’s easier to darken a color than to lighten it.
- Keep a hairdryer handy. It’s great for speeding up drying time between layers.
- Don’t overwork your paint. If you keep brushing over the same spot, you’ll end up with a muddy mess. Let it dry and add another layer if you need to.
- Experiment with different brush strokes. Try dots, lines, swirls – each will give a different effect.
- Keep your water clean. Rinse your brush and change your water often to keep your colors bright.
- Use white for highlights. A touch of white can make things really pop.
- Try painting on different surfaces. Cardboard, wood, or even rocks can be fun to paint on.
Remember, painting is supposed to be fun! Don’t stress if your first attempts don’t look like masterpieces. Every artist starts somewhere, and the only way to get better is to keep practicing. Besides, half the fun is in the process, not just the end result.
So why not give one of these ideas a shot? Grab those poster colors, put on some good tunes, and let your creativity flow. You might surprise yourself with what you can create. And hey, even if it doesn’t turn out exactly how you imagined, you’ll have learned something for next time.
Happy painting, my friend! Can’t wait to see what you come up with. Who knows? Maybe we’ll see your art hanging in a gallery someday. But for now, just enjoy the journey and have fun with it!